|
 |
 |
 |
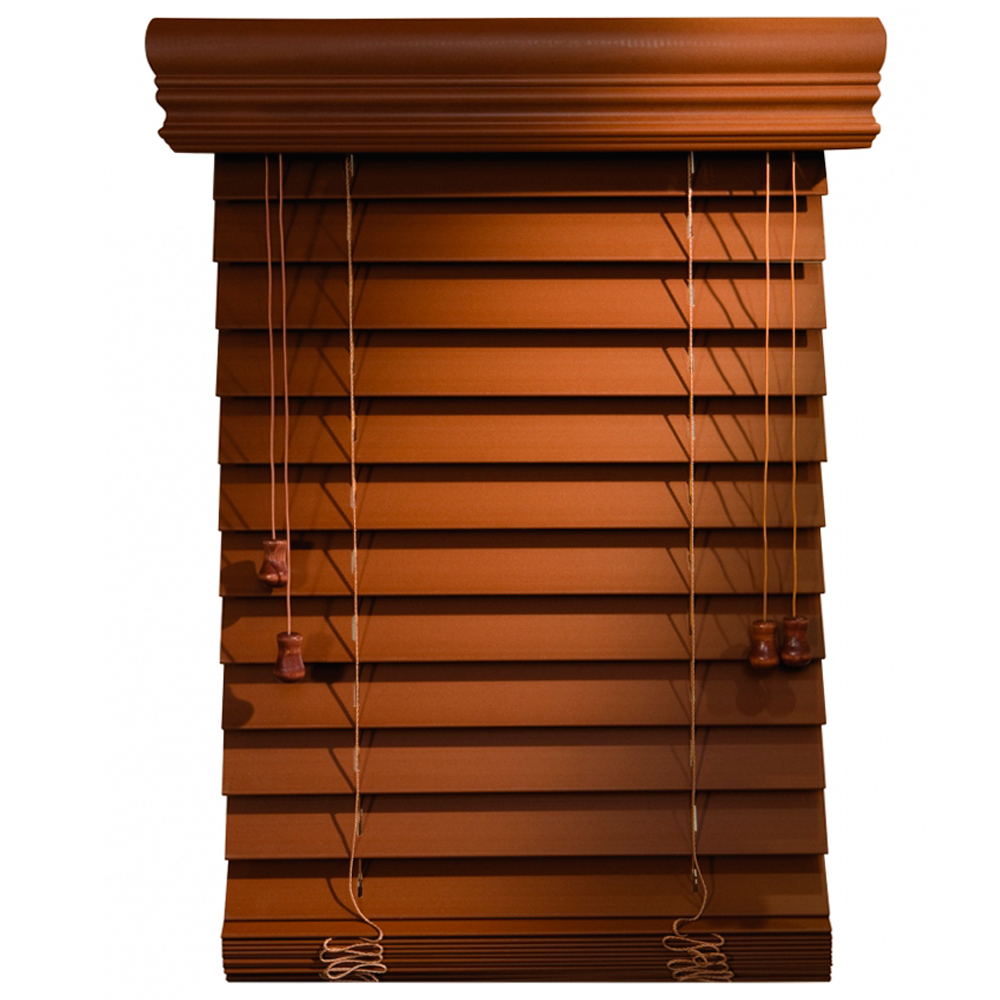
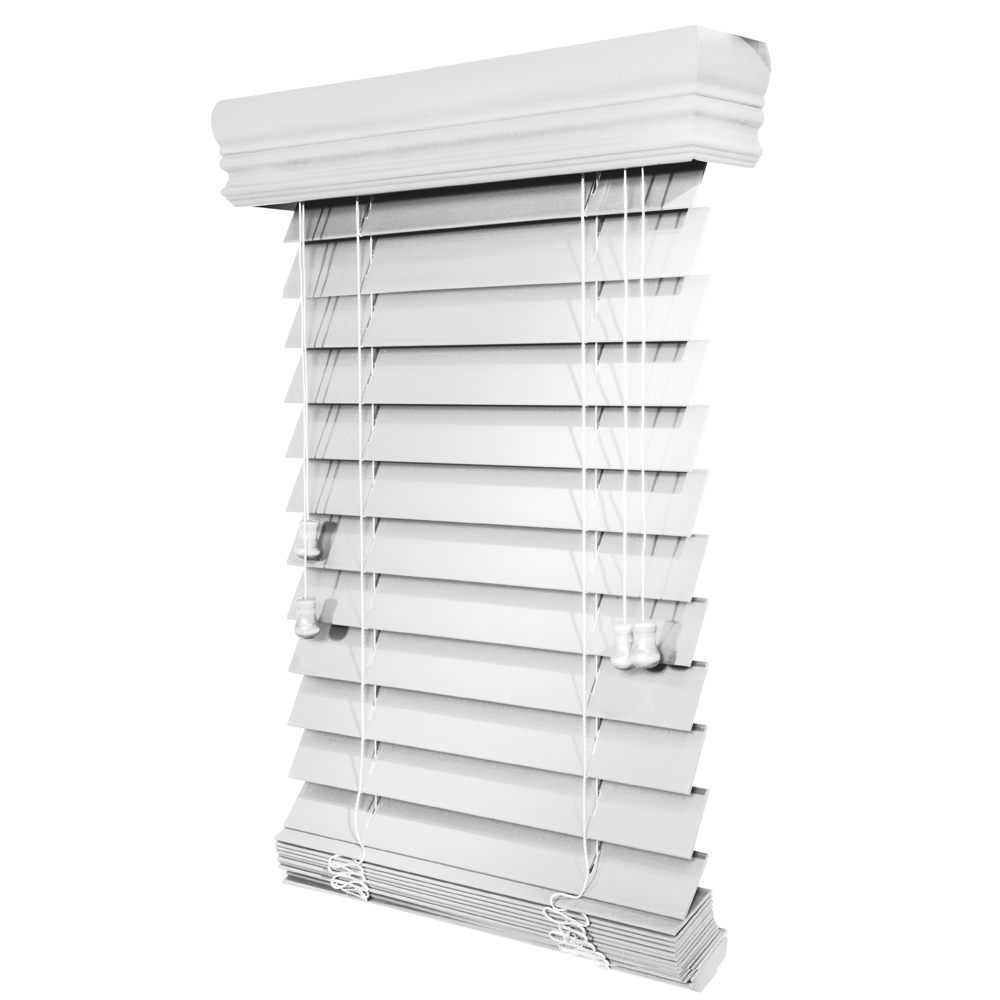
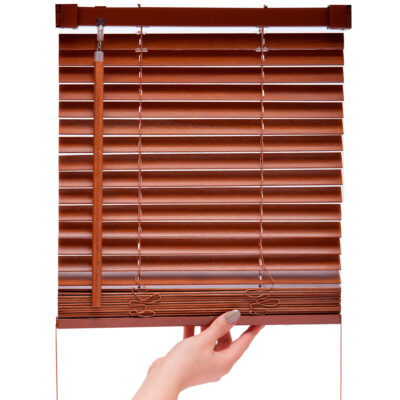
Cord-Lock Wood Blinds
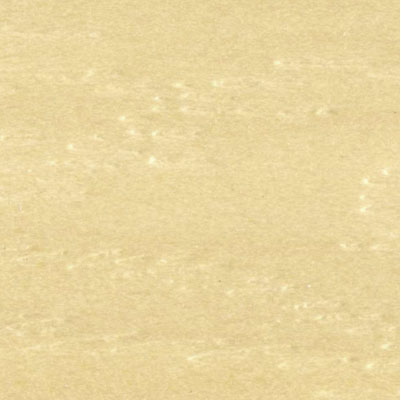
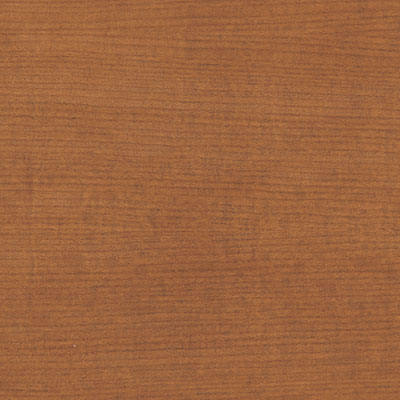
 Upgrade any decor with our REAL WOOD or FAUX WOOD blinds. Our new two-inch slats are guaranteed to make your RV stand out from other interior looks. These shades are extremely durable, easy to clean and highly resistant to heat and moisture. Our faux blinds have a unique wood-like material, which offers the look of hardwood at an affordable price.
Cord-Lock Residential Style: Pull cord to raise shade, release at angle to lock.
Available for OEM sales only.
| Style Choices | Cord-lock residential style |
| 3″ Decorative Crown Valance | Standard on every real or faux wood shade |
| Length Range | Custom sizing |
| Width Range | Custom sizing |
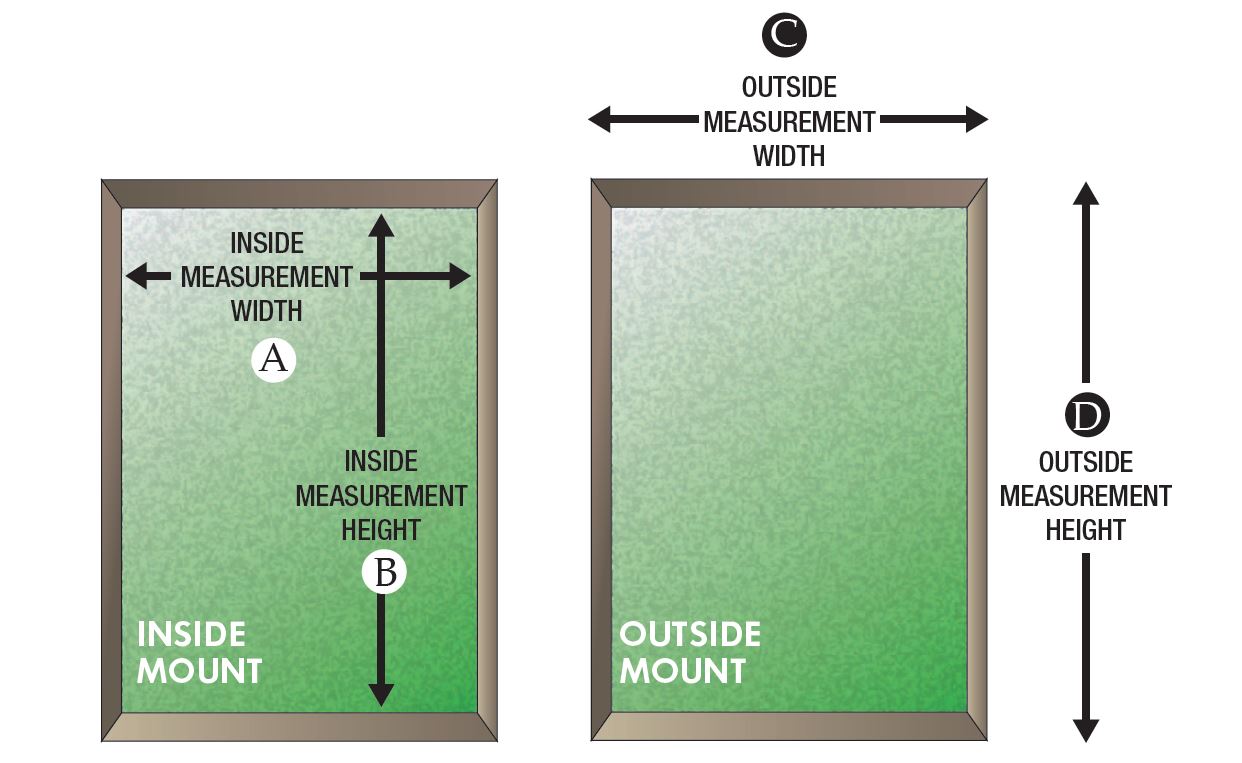
- Determine if the shade or blind will mount outside the window frame onto the wall (Outside Mount) or if the shade or blind will be mounted inside the window frame (Inside Mount).
Note: Most RV windows are Outside Mount. - Outside Mount — Measure the width (across) of the area to be covered. Example: End of frame to end of frame plus 2” added for additional coverage. Inside Mount: Measure the exact opening size. The factory will make any necessary adjustments from your exact measurements to allow for inside clearance and ease of operation.
- Measure the length (drop) of area to be covered. Example: Top of frame to bottom of frame with an additional 2” for mounting above and below window.
United Shade will manufacture exactly the size you order. Take precautions with your measurements so entire window area is covered and allowances are made to assure a custom fit. If draperies or valances are already installed be sure your measurement for width allows the shade or blind to fit under the current window treatment.
Inside Mount Measuring Instructions
Inside mount shades and blinds are installed inside the window casing.
- Measure the exact insdie width of the window casing from left to right inside edge.
- Measure the exact inside height of the window casing form top to bottom inside edge.
- Do NOT take any deductions. Allowances are made at the factory to ensure fit.
Outside Mount Measuring Instructions
Outside mount shades and blinds are installed outside the window casing. The shade or blind will cover an area larger than the window itself.
- Measure the exact width to be covered. Allow enough extra coverage to ensure proper light control and privacy
- Measure the exact height to be covered. Allow for proper coverage.
- Step 1: Installing end brackets: Determine where to attach each brackets. For outside mounting, position the brackes on the window frame or wall and attach with the proper fasteners. For inside mounting, position top of bracket against inside surface of window frame and attach. Each end bracket uses two screws mounted diagonally. Make sure end brackets are level.
- Installing support brackets (where supplied): Center the support bracket between the two end brackets. Keep the top and back of each support bracket level and aligned with tops and backs of the end brackets. If more than one supposrt bracket is used, space the support brackets evenly across the width of the headrail. Insert screws in the top for an inside mount,; insert screws in the back for an outside mount.
- Step 2: Install the Headrail: Slide the headrail into the end brackets and center support. then close end bracket covers until they click into place.
- Step 3: Install Valance: Your blind includes a valance. Position one valance clip at eash end of the headrail, and evenly space any additional clips across the width of the headrail.
- Step 4: Adjusting blind length (optional): Completely lower installed blind before adjusting. Mark where you want the bottom rail to rest. remove ladder caps on the underside of bottom rail. Cut off knots that hold center cord up through the slats to the new length. DO NOT CUT OFF EXCESS LADDER OR CORD. Slide out the bottom rail and all slats up to new length. Re-insert the bottom rail onto the rungs at the new length. Thread the center cord through the slat and the hole in bottom rail and tie a knot. Cut all rungs below the one supporting bottom rail. Cut ladder 1˝ below rail and stuff excess ladder into bottom rail. Replace ladder caps.
NOTE: If tension is too tight, the tilter mechanism which opens and closes the blind may not operate correctly and the cording will need to be adjusted by loosening the cord and re-tying a new knot.
Periodic dusting with a feather duster, soft clean cloth or vaccum cleaner brush is all our real and/or faux wood blinds should ever require. If necessary, the blinds can be spot cleaned with a mild soap and water to remove dirt or stains. You should never use any type of liquid or powder cleaner on our blinds as this could stain and discolor the blinds.